So, you’ve got a crisp, functional design for a Ticket Management System sitting in Figma. Login flows? Done. Dashboard? Structured. Ticket creation and status views? Nailed. Stakeholders gave the nod.
Now comes the part everyone dreads: turning those static screens into a working app.
Traditionally, this is where progress slows. Specs get misread, handoffs go cold, devs wrestle with CSS, and QA circles back with margin feedback. Meanwhile, that launch deadline? Still fixed.
But what if building your app felt as smooth as designing it? That’s the promise of Figma to App Development with Vibe Coding—a faster, smarter way to transform design into deployable code using natural language and AI.
Enter Vibe Coding
Vibe coding changes the way software gets made. Instead of manually translating designs into code, you instruct an AI in plain English. You describe what you want—the structure, the styling, the behavior—and it writes the code for you.
No need to open five tabs, debug layout quirks, or rebuild what you already mapped out visually. With vibe coding tools like Bolt.new, v0.dev by Vercel, Cursor, and Claude, you can go straight from Figma to app. The result? Less friction. More focus. Faster feedback.
For this blog, we’ve used Bolt.new to bring our Ticket Management System to life—using just Figma, prompts, and a little product thinking.
Step 1: Design Your Ticket Management System in Figma
Your journey starts in Figma, where you lay the foundation:
- Login screen: with email, password, and a “Forgot password?” link.
- Dashboard view: showing tickets by status—Open, In Progress, Resolved.
- Create ticket form: inputs for subject, description, priority, and category.
- Ticket detail page: with comments, activity history, and action buttons.
- Admin panel: for assigning or escalating tickets.
Design tips to keep things vibe-code ready:
- Use clear, functional naming (e.g., TicketCard, StatusFilter, ReplyBox)
- Group logically—headers, containers, ticket lists, and modals
- Apply Auto Layout—helps Bolt understand the flow and responsiveness
- Use reusable components for buttons, forms, and card layouts
- Map flows—link your Figma frames to simulate ticket creation or admin approval
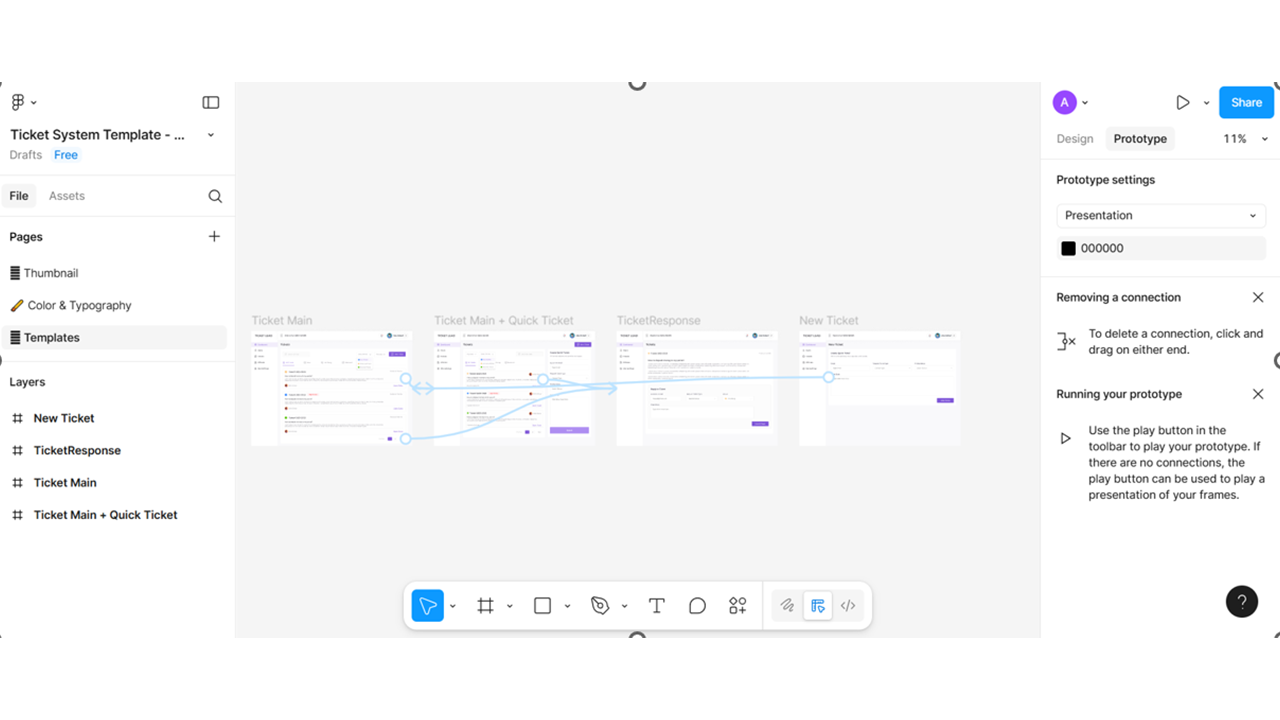
*Screenshots are illustrative and may not reflect exact steps.
Step 2: Import Directly into Bolt.new
Here’s the magic moment.
- Head to https://bolt.new
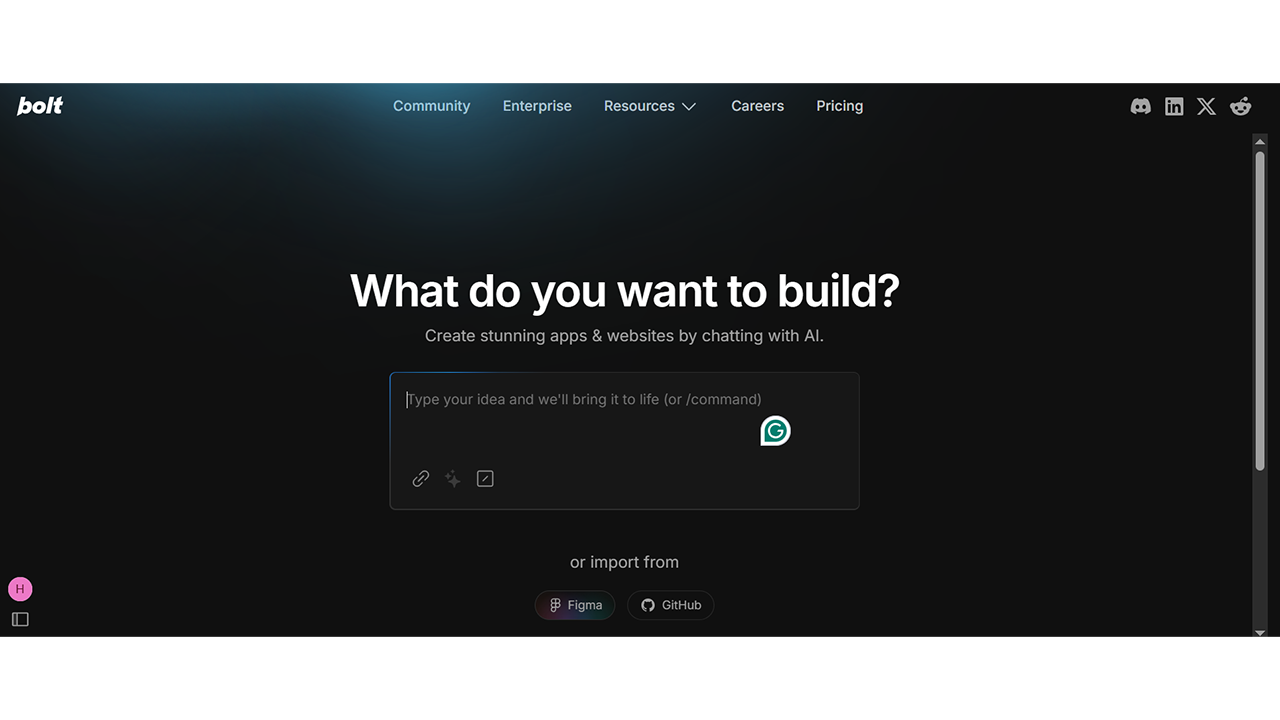
- Create a new project
- Paste your Figma file URL
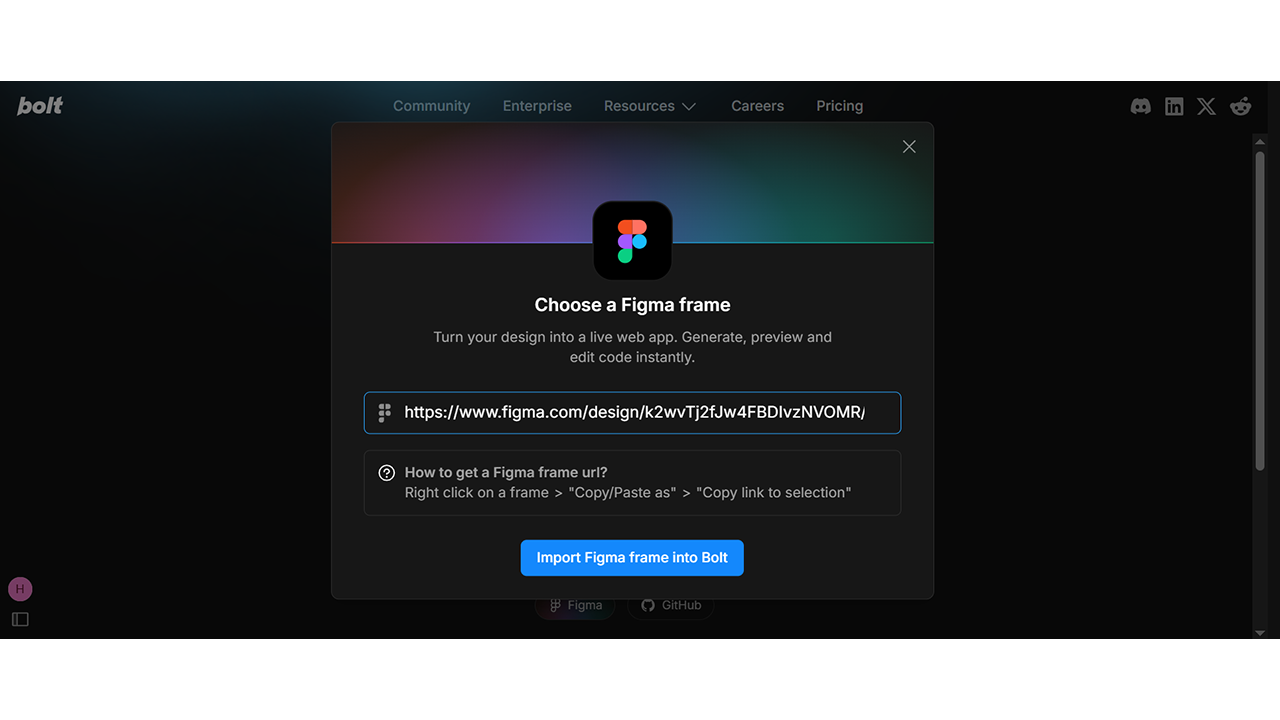
- Hit import—and watch Bolt turn your static layout into a live, editable app preview
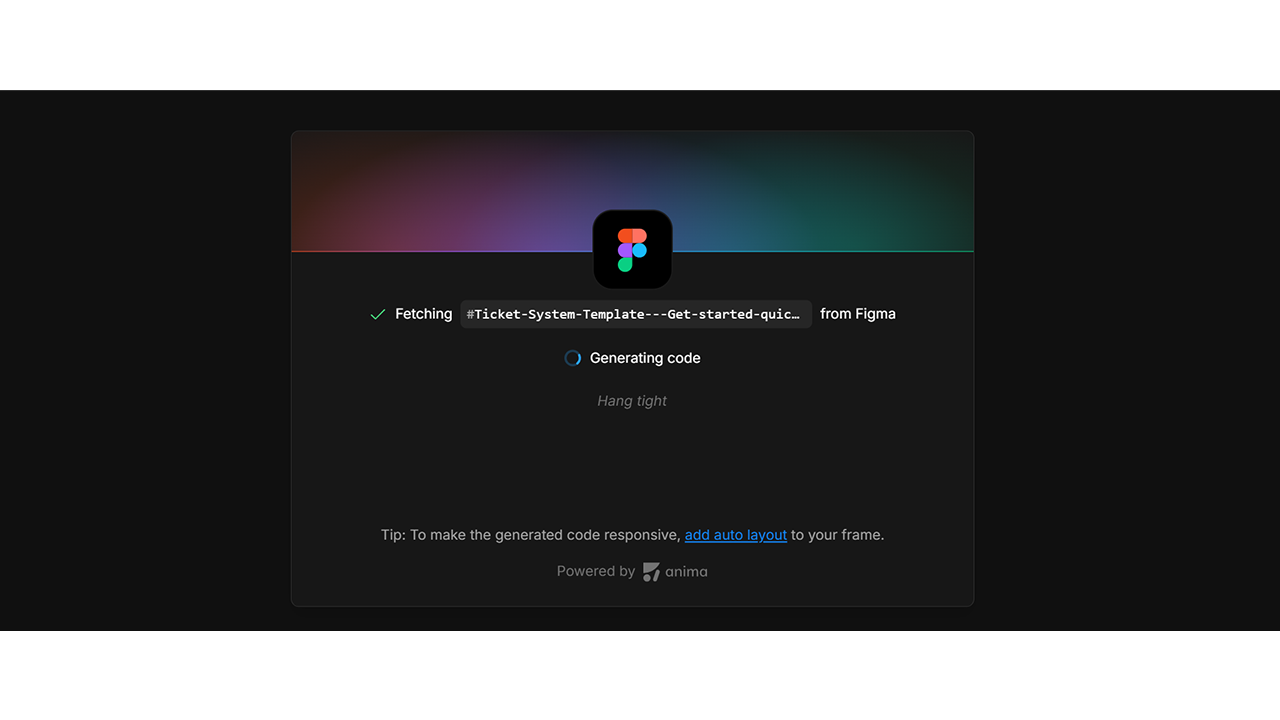
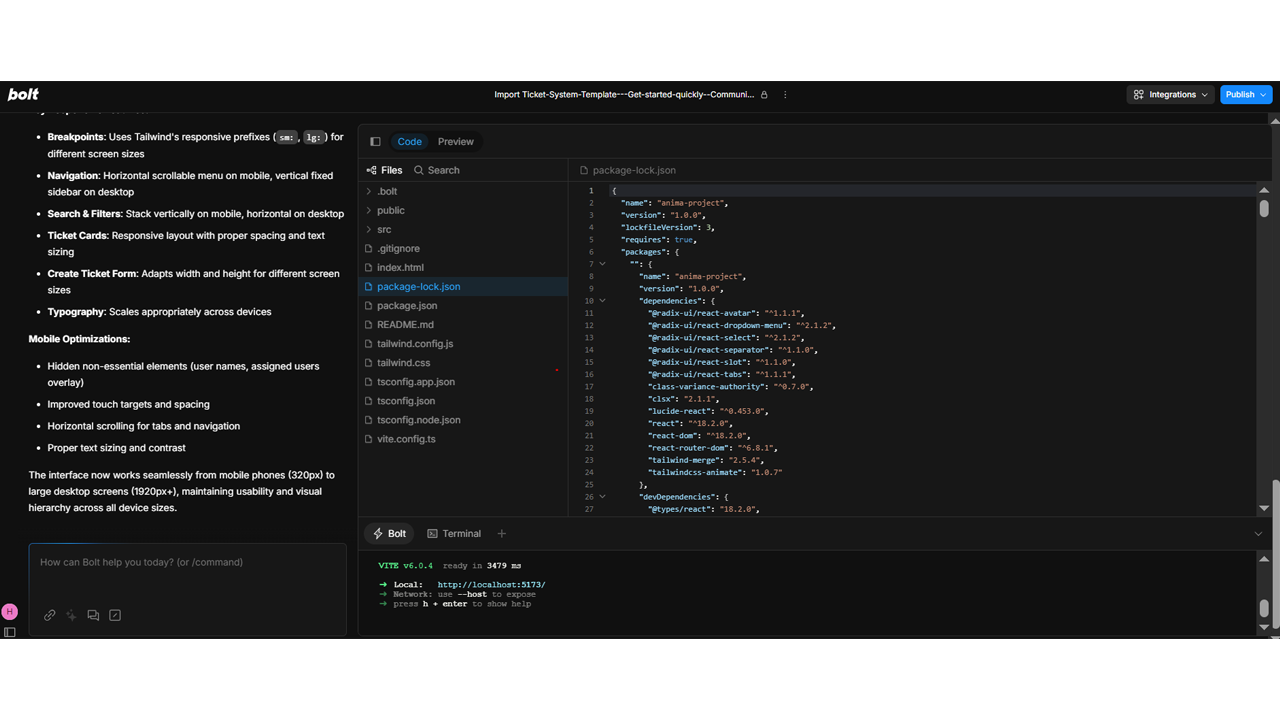
No plugins. No exports. Just your design, rendered with responsive HTML and Tailwind CSS, alongside editable React code.
Bolt gives you:
- A live preview pane (your app, as users will see it)
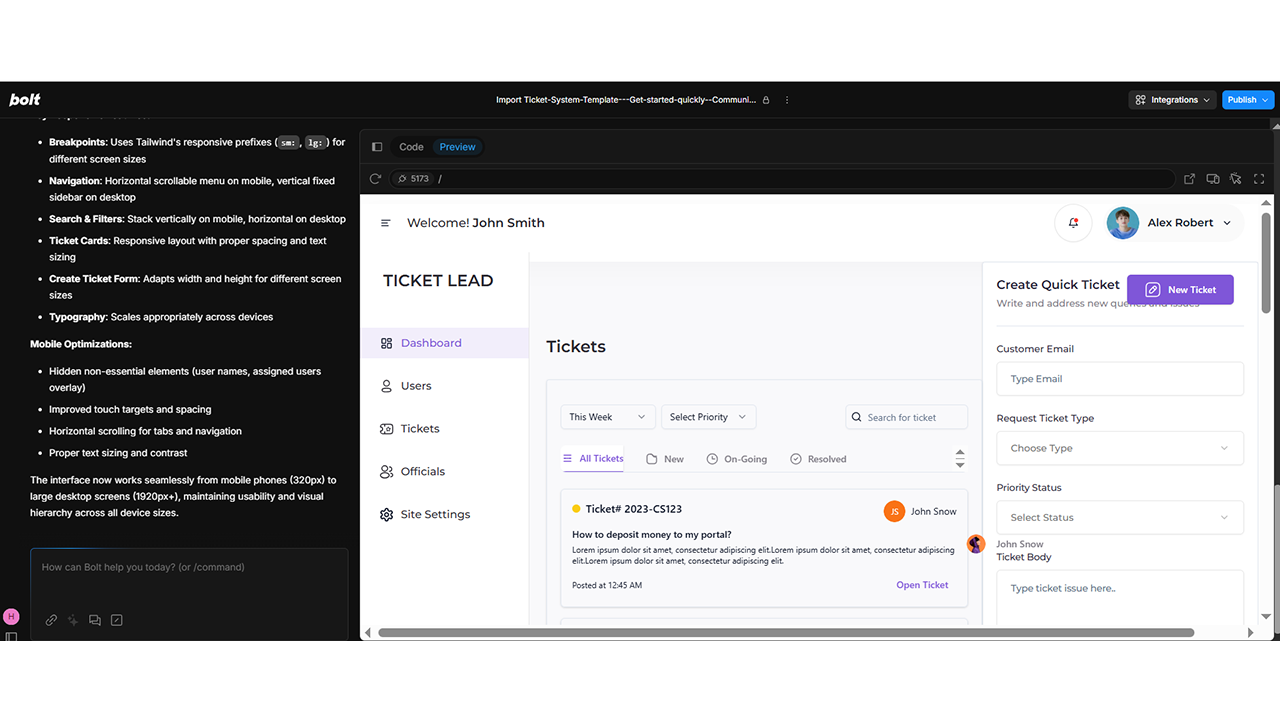
- A prompt bar to issue instructions
- A code editor that updates with every prompt
Step 3: Use Prompts to Build Real UI Behavior
Time to breathe life into the layout.
Here’s how we can further shape key functionality in the ticket system using prompts:
“Center the login form and make it mobile responsive.”
“Add hover effects to sidebar navigation items.”
“Turn each ticket card into a clickable component that routes to a detail view.”
“Make the priority badge color-coded—red for high, yellow for medium, green for low.”
Each prompt updates both the code and preview, instantly. No guesswork. No context switching. You get to stay in that creative/productive zone longer.
Step 4: Tweak the Workflow and UX
As your UI takes shape, you’ll want to enhance the experience. In our ticket system, we added:
“Enable sorting in the ticket list by date created and priority.”
“Add pagination at the bottom of the ticket list—5 tickets per page.”
“On submit, show toast notification: ‘Ticket Created Successfully’.”
“Include a confirmation modal before deleting a ticket.”
All of this was done via conversational prompting—no deep-diving into routing libraries or DOM manipulation.
Want your admin dashboard to shine?
“Add tabs for ‘All Tickets’, ‘Unassigned’, and ‘Escalated’ with dynamic filtering.”
Step 5: Scaffold Logic for Backend Interactions
While Bolt doesn’t handle full backend services, it sets up the scaffolding beautifully.
For the ticket management app, we used prompts like:
“Add state to track ticket status and update color accordingly.”
“Wire the ticket form to submit data using fetch() to /api/tickets/create.”
“Show loading spinner when fetching ticket details.”
You can always export and connect to real services like Supabase, Firebase, or your internal APIs later.
Bonus: Ask Bolt to generate dummy JSON data to simulate behavior before the backend is ready.
Step 6: Add Tests, States, and Validation
You want your ticketing app to feel polished. Here’s how we leveled it up:
“Validate ticket title: min 5 characters.”
“Disable the Submit button until all required fields are filled.”
“Write Jest test to check if ticket cards render correctly.”
“Add accessible labels for input fields and buttons.”
Bolt helps make quality part of your build process—not a post-launch scramble.
Step 7: Export, Push, Deploy
Once your app feels stable and beautiful:
- Click Export in Bolt
- Push to GitHub or download locally
- Deploy via Vercel, Netlify, or your favorite CI/CD pipeline
- Alternatively, deploy directly from Bolt using the Publish option.
This way, your Ticket Management System is no longer a concept—it’s a hosted, running, tested app you can demo, test, or even hand off to clients.
Step 8: Iterate and Maintain Like a Pro
The best part? Bolt isn’t a one-time generator. You can come back to it and continue shaping your app just by prompting:
“Add an ‘Assign to Me’ button on ticket detail view.”
“Filter resolved tickets by last updated date.”
“Update ticket cards to show SLA countdown in hours.”
Maintenance, updates, even feature rollouts—done conversationally, without jumping through loops.
Why This Works for Ticketing (and Beyond)
Speed
Building an admin dashboard with smart logic in a day? Totally doable.
Precision
Your UI stays true to the Figma design. Nothing lost in translation.
Flexibility
Whether you’re adding a quick fix or new flow, just prompt and go.
Collaboration
Designers, Product Managers, devs—they can all contribute. Vibe coding is inclusive.
Who Should Be Doing This?
If you’re building internal tools, B2B portals, customer support platforms, or literally any system that manages records, requests, or workflows—this process is gold.
- Designers get to see their work in action, pixel-perfect
- Developers avoid UI drudgery and focus on real problems
- Product Managers and stakeholders get working demos in hours, not weeks
Final Thoughts: Build Smart. Ship Bold.
With vibe coding, your Figma design is no longer just a blueprint. It’s a launchpad.
You skip the slow parts. You stay creative. And best of all—you’re shaping something functional that people can interact with right away.
Our Ticket Management System started as few static frames. A few hours later, we had a responsive, interactive, demo-ready app.
And it all started with a vibe.
So, ready to bring your designs to life? Just prompt and build.